You can create a visit directly in Manager instead of sending a calendar invite. What you see depends on your user role.
Basic user — adding a visit
- Log in to Manager and select New visit from the left menu.
- Set the visit date and time under Visit starts and Visit ends.
- Search for a visitor by name and click Search — or create a new visitor with Create new.
- To add multiple visitors from an xlsx file, use Import from file. Note: the file must match the required format — use the template available inside the Import from file section.
- The host is pre-filled with your own name. Use the Change button to select a different host, if you have been granted the right to create visits for others. See Letting another user create visits on your behalf.
- Once visitors appear in the Selected visitors panel, save the visit.
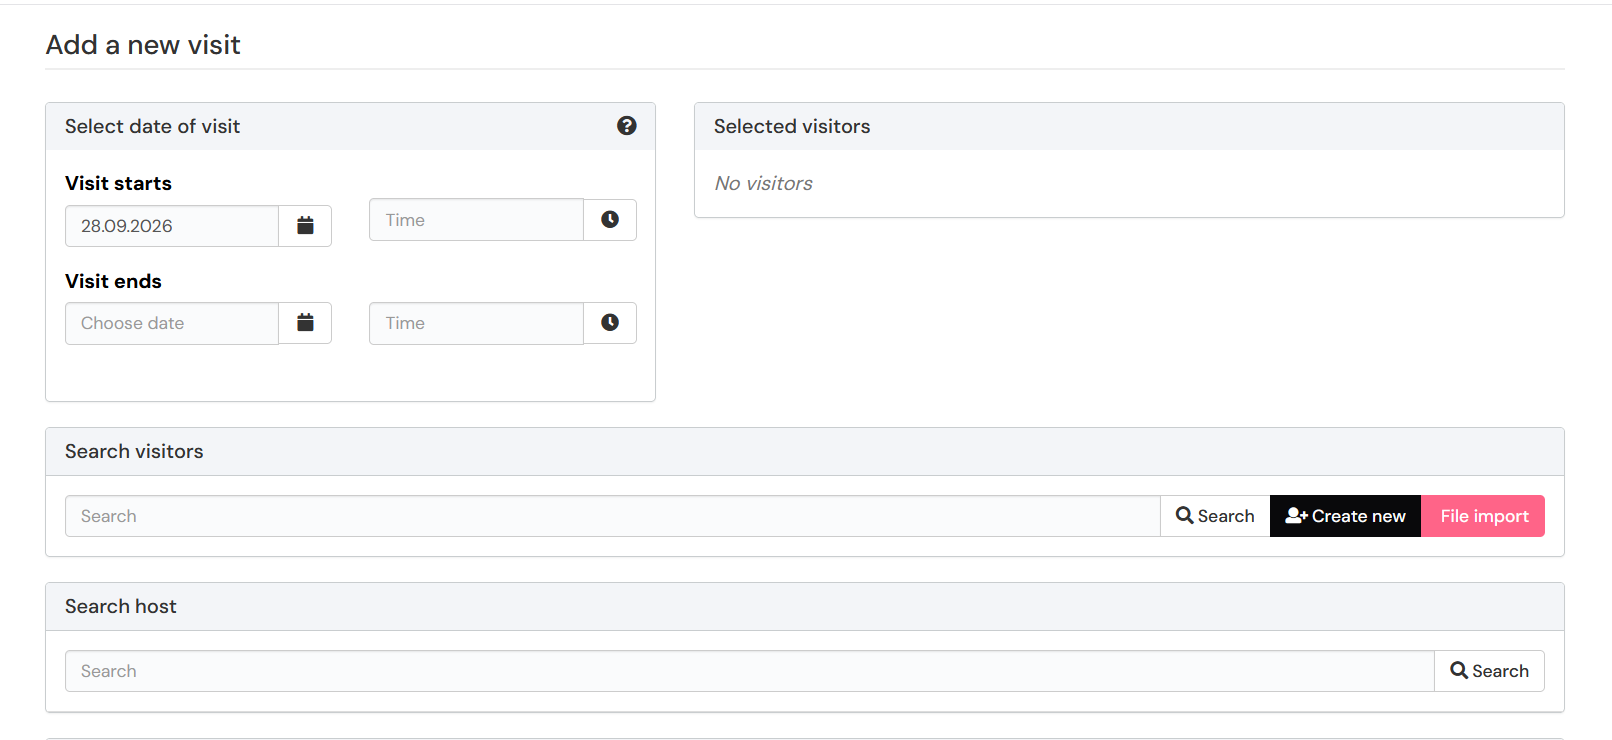
Multi-day visit
If the visit lasts several days, pick different dates under Visit starts and Visit ends. The visit shows on the upcoming visits list for the whole period. Times are local time.
After saving the visit
After saving you'll see a summary: the time, host, visitors and additional information. If sending the summary to the host is enabled, the host gets it automatically.
- To send the summary to someone else as well, enter their email address and click send.
- You can also download the visit as a calendar event (.iCal) for your own calendar.
Lobby user — additional options
Lobby users have two options for creating a visit:
- New visit and sign in — create a visit and sign the visitor in immediately.
- Plan a visit — schedule an upcoming visit without signing in right away, just follow the guide above.
Lobby users must always select a host manually — the host field is not pre-filled.
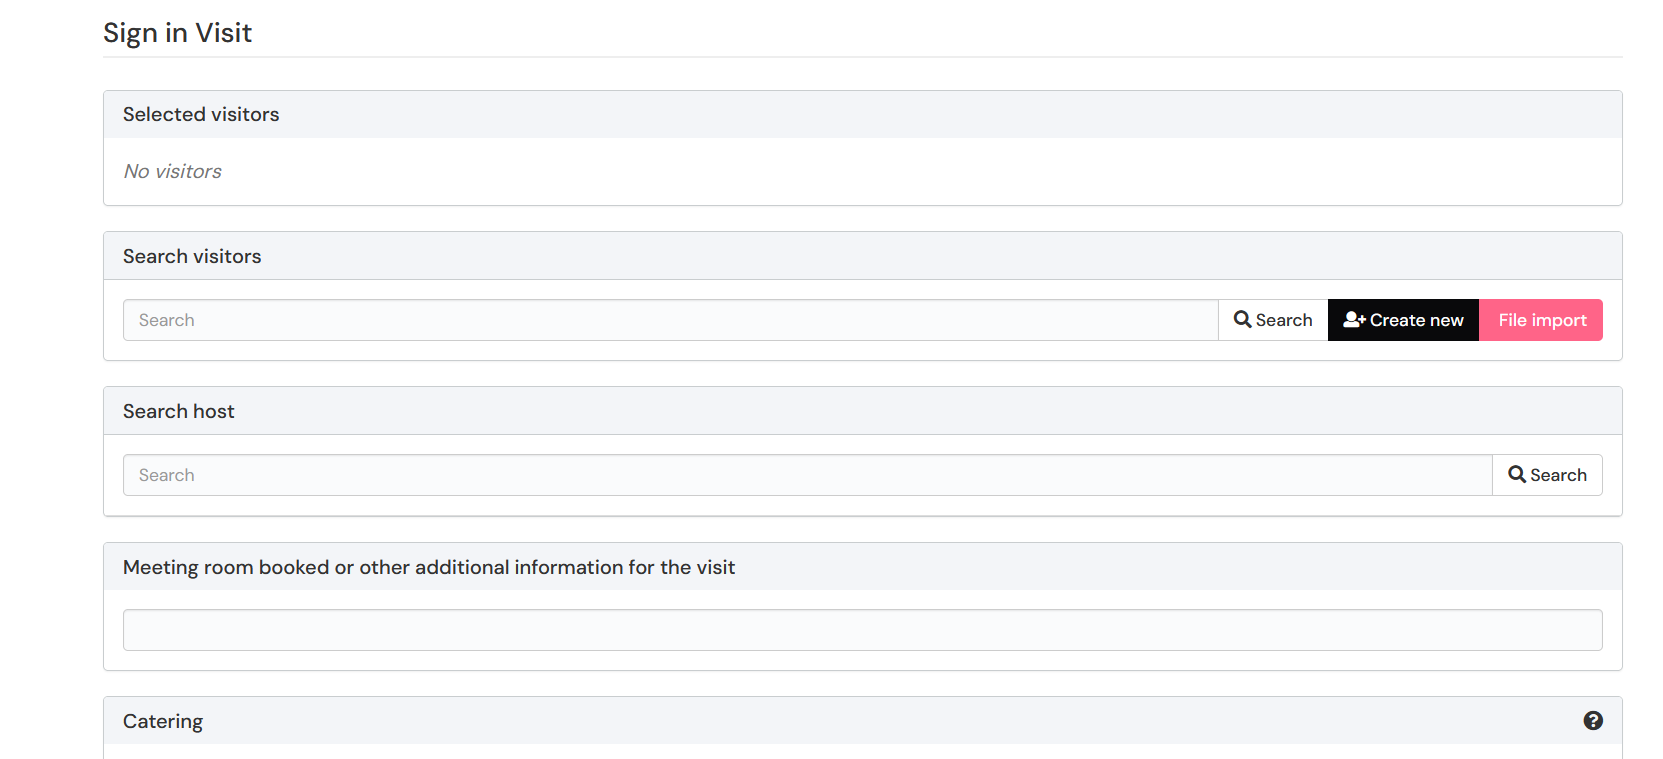
Invitation sent — your visitor will receive a pre-arrival message automatically.
Was this article helpful?
That’s Great!
Thank you for your feedback
Sorry! We couldn't be helpful
Thank you for your feedback
Feedback sent
We appreciate your effort and will try to fix the article